


Building a home is one of the biggest financial and emotional commitments most people make. Done right, it's the start of a legacy. Done wrong, it's a slow leak of money, time, and peace of mind. This guide walks through the stages of a construction project in Kenya — what to plan for, who to hire, and where most homeowners get tripped up.
1. Start With the Land, Not the Design
Before you fall in love with a floor plan, get the land checked. A soil test, a survey, and a title search will tell you what you can actually build and whether the ground will support it.

Key checks before you buy or build:
- Confirm the title deed is genuine and free of disputes (search at the Ministry of Lands).
- Get a topographical and soil survey — this affects your foundation design and cost.
- Check zoning and county land-use restrictions for the area.
2. Get the Design and Approvals Right
Every legal build starts with an architect's design, structural drawings from an engineer, and approval from the county government. Skipping this step is how "informal" structures end up demolished years later.

You'll typically need:
- Architectural drawings and a structural engineer's design.
- County approval of building plans (and NEMA approval for larger projects).
- An NCA-registered contractor and a registered project (see our related article on NCA registration).
3. Budgeting: Beyond the Contractor's Quote
The contractor's quote is rarely the full cost. Add a contingency of at least 10–15% for price changes in materials, currency shifts, and the small decisions that always cost more than planned; extra sockets, a better tile, a bigger gate.
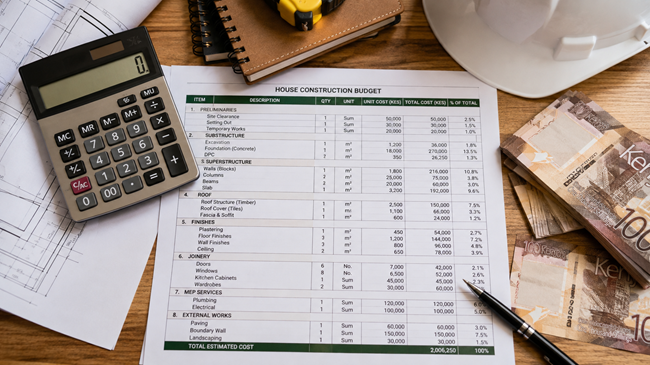
Common line items people forget:
- Site preparation (clearing, access roads, water and power connection).
- Professional fees (architect, engineer, quantity surveyor).
- NCA project registration and county approval fees.
- Fencing, gate, and boundary wall.
- Snagging and finishing costs after "practical completion."
4. Foundation and Structure: Where Quality Really Matters
This is the stage where corners get cut and never seen again — until something goes wrong. Insist on the engineer inspecting the foundation before it's covered, and keep photos of every stage.
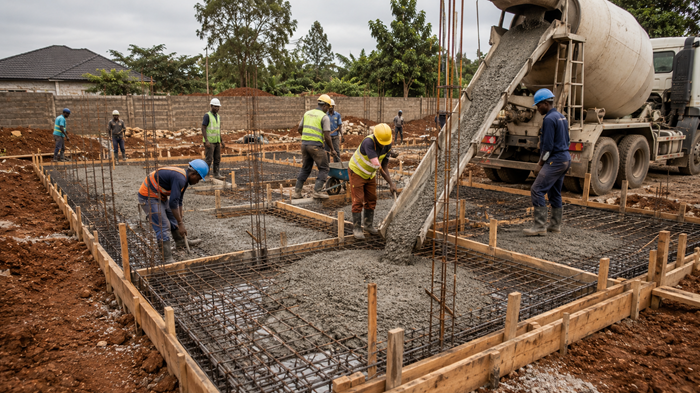
Watch for:
- Reinforcement bar spacing matching the engineer's drawing, not guesswork.
- Concrete mix ratios being followed, not adjusted to "save cement."
- A signed-off foundation inspection before walls go up.
5. Managing Your Contractor and Site Visits
A good contractor welcomes site visits. Set a simple rhythm — weekly walk-throughs, a shared WhatsApp group with your engineer, and a payment schedule tied to completed milestones, not the calendar.

Practical habits that prevent disputes:
- Pay against verified milestones (foundation, ring beam, roofing, finishes) — never far ahead of progress.
- Keep a written variation log for any change to the original plan or quote.
- Photograph the site weekly; it's your record if something is disputed later.
6. Roofing, Finishes, and the Final Stretch
The last 20% of a build often takes 50% of the patience — plumbing, electrical, tiling, painting, and fittings. This is also where personal taste and budget most often collide.
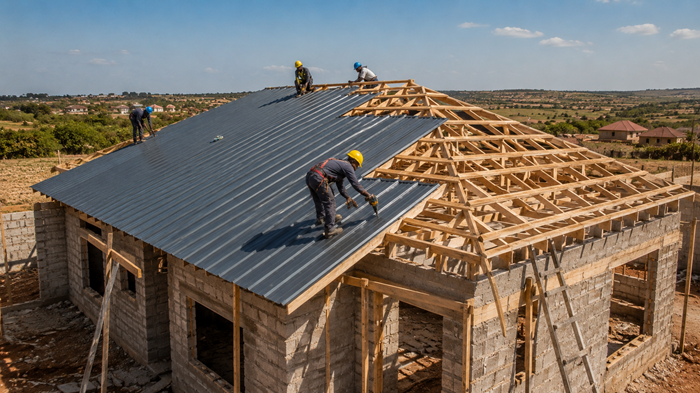
Before you sign off as complete:
- Do a full snag list walk-through with your architect or engineer.
- Test all plumbing and electrical fittings under real use, not just visually.
- Get an occupation certificate from the county before moving in.
7. Move-In Day

After months of decisions, delays, and dust, this is the payoff. Keep your full documentation: drawings, approvals, NCA compliance certificates, and warranties in one folder. You'll need it for insurance, resale, or any future renovation.